

Appearance
How to Install
aescripts + aeplugins Manager App (Recommended)
The easiest way to install and keep Icon Library up to date is through the free aescripts + aeplugins manager app.
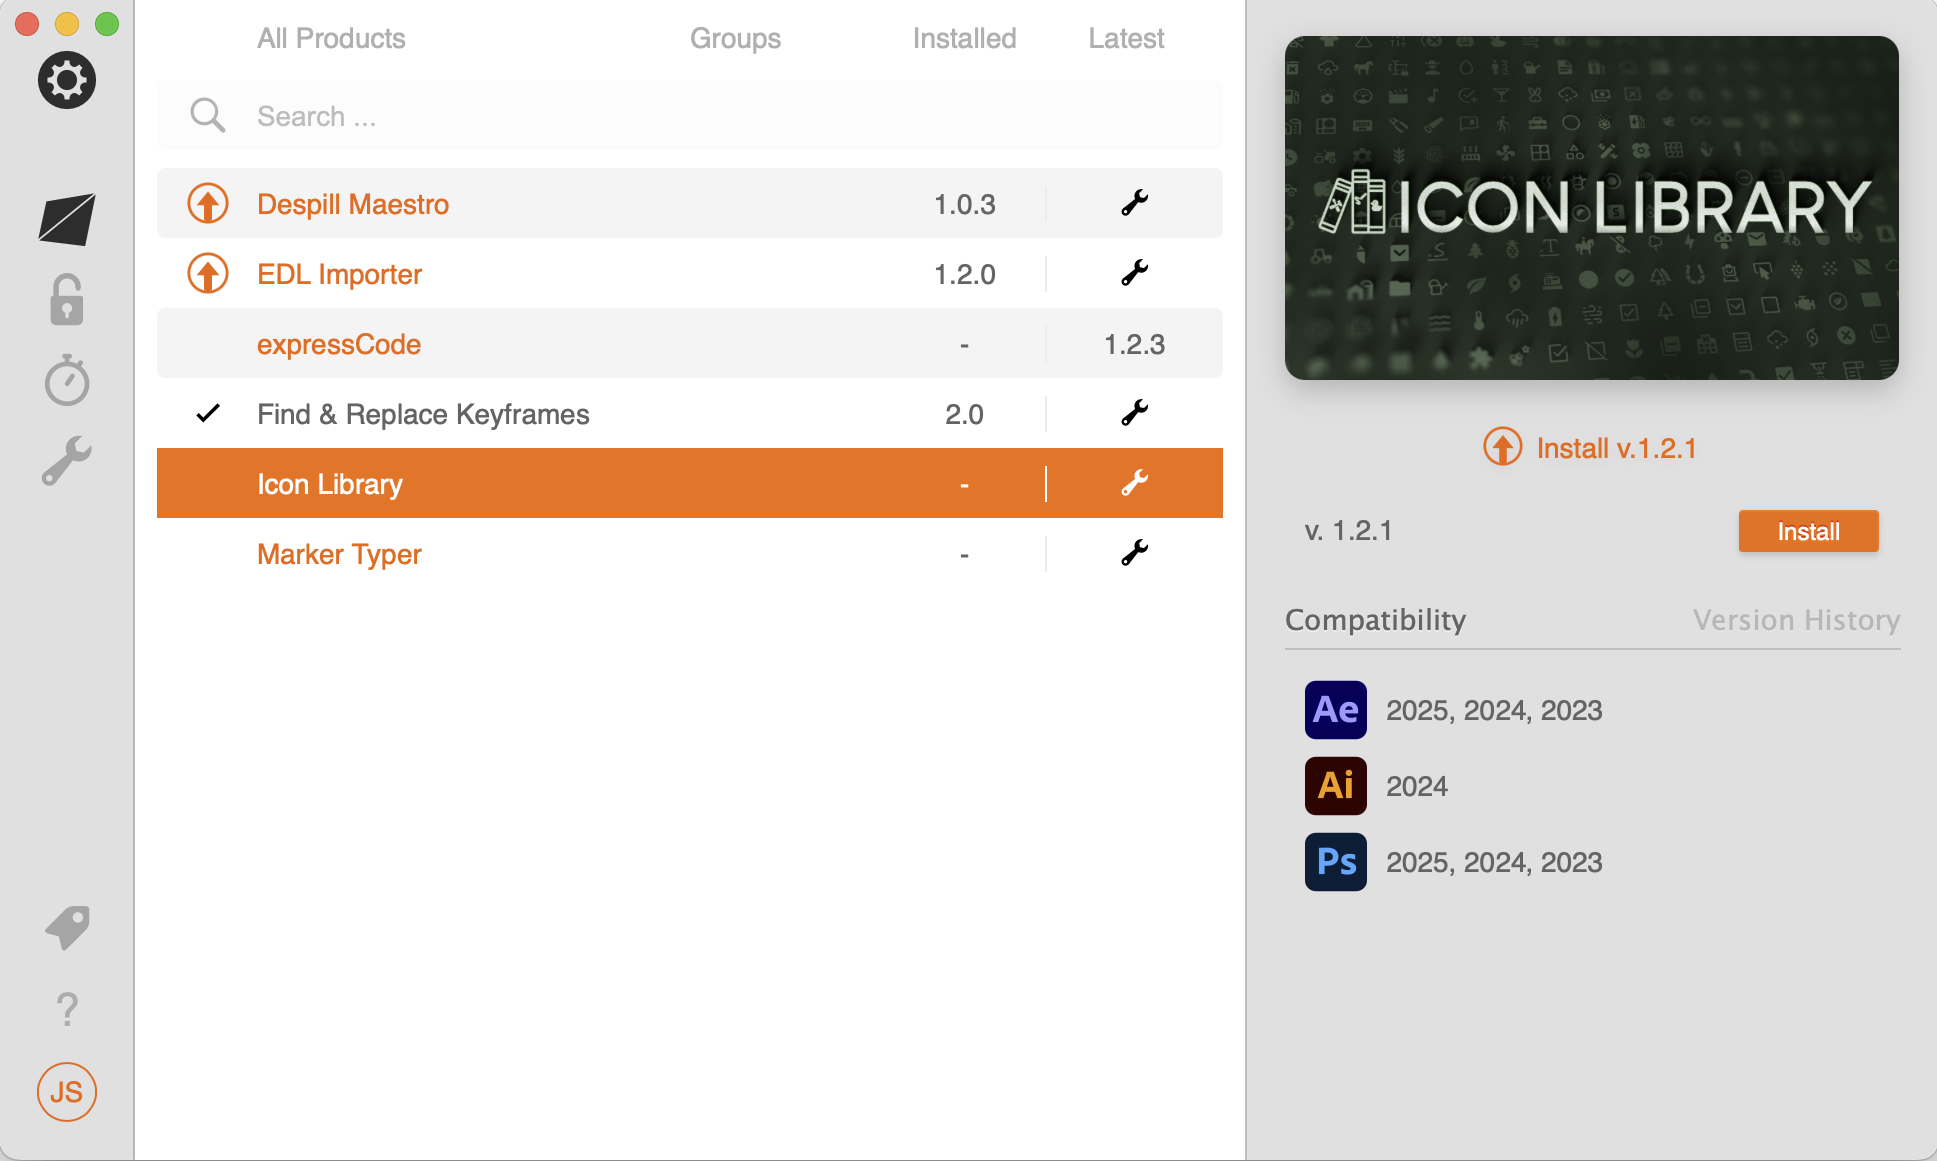
- Download and install the aescripts + aeplugins manager app
- Log in with the aescripts account you used to purchase Icon Library.
- Find
Icon Library 2in your list of purchases and clickInstall. - Launch your host app and open Icon Library - see Launching Icon Library below.
The manager app will also notify you when updates are available and let you install them in one click.
Launching Icon Library
How you open Icon Library depends on which app and which version you're using.
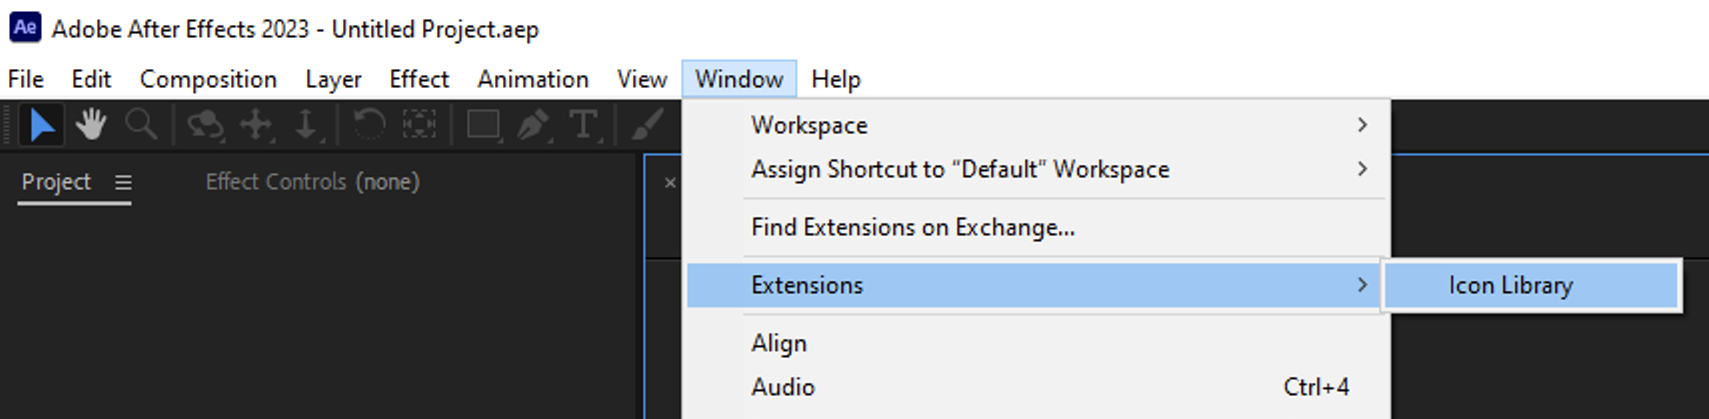
After Effects & Illustrator
Go to Window → Extensions → Icon Library.
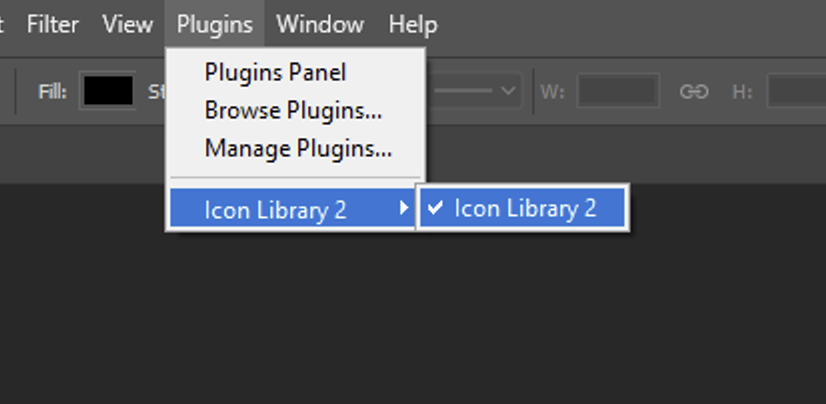
Photoshop 2024+ (UXP)
Go to Plugins → Icon Library 2 → Icon Library 2.
Photoshop 2022–2023 (CEP)
Go to Window → Extensions (Legacy) → Icon Library.
Apple Silicon & Rosetta
The legacy CEP panel doesn't run natively on Apple Silicon Macs. If Extensions (Legacy) isn't visible, try opening Photoshop using Rosetta.
Manual Installation
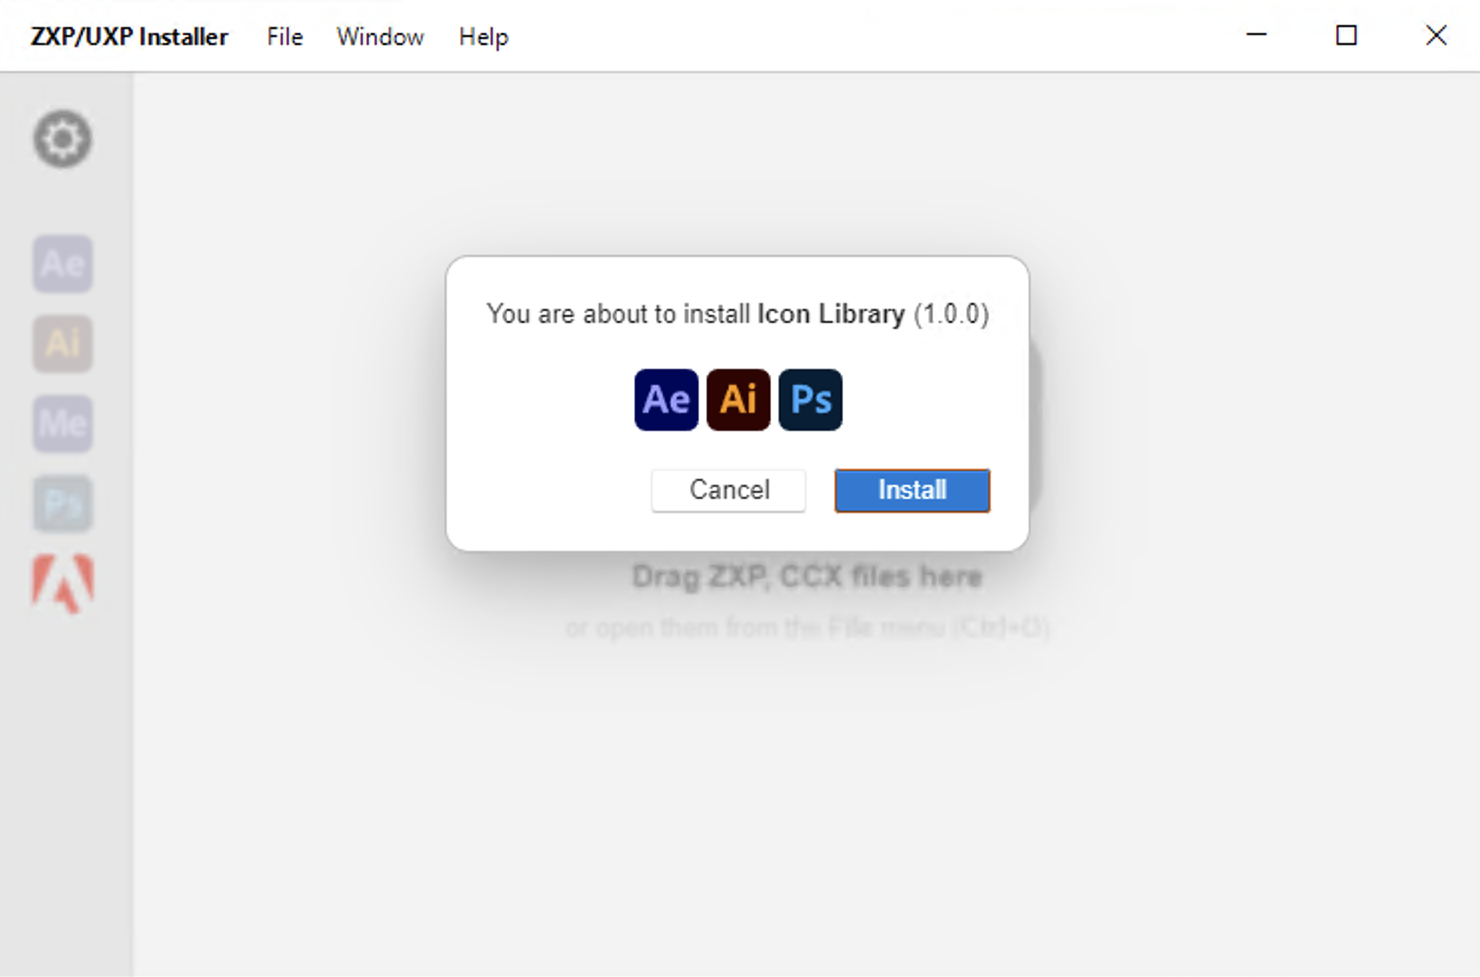
ZXP Installer - After Effects, Illustrator & Photoshop (Legacy)
- Download and install the ZXP Installer from aescripts + aeplugins.
- Drag the
.zxpfile from your product download and drop it onto the ZXP Installer. - Follow the prompts to complete installation.
CCX Installer - Photoshop 2024+ (UXP)
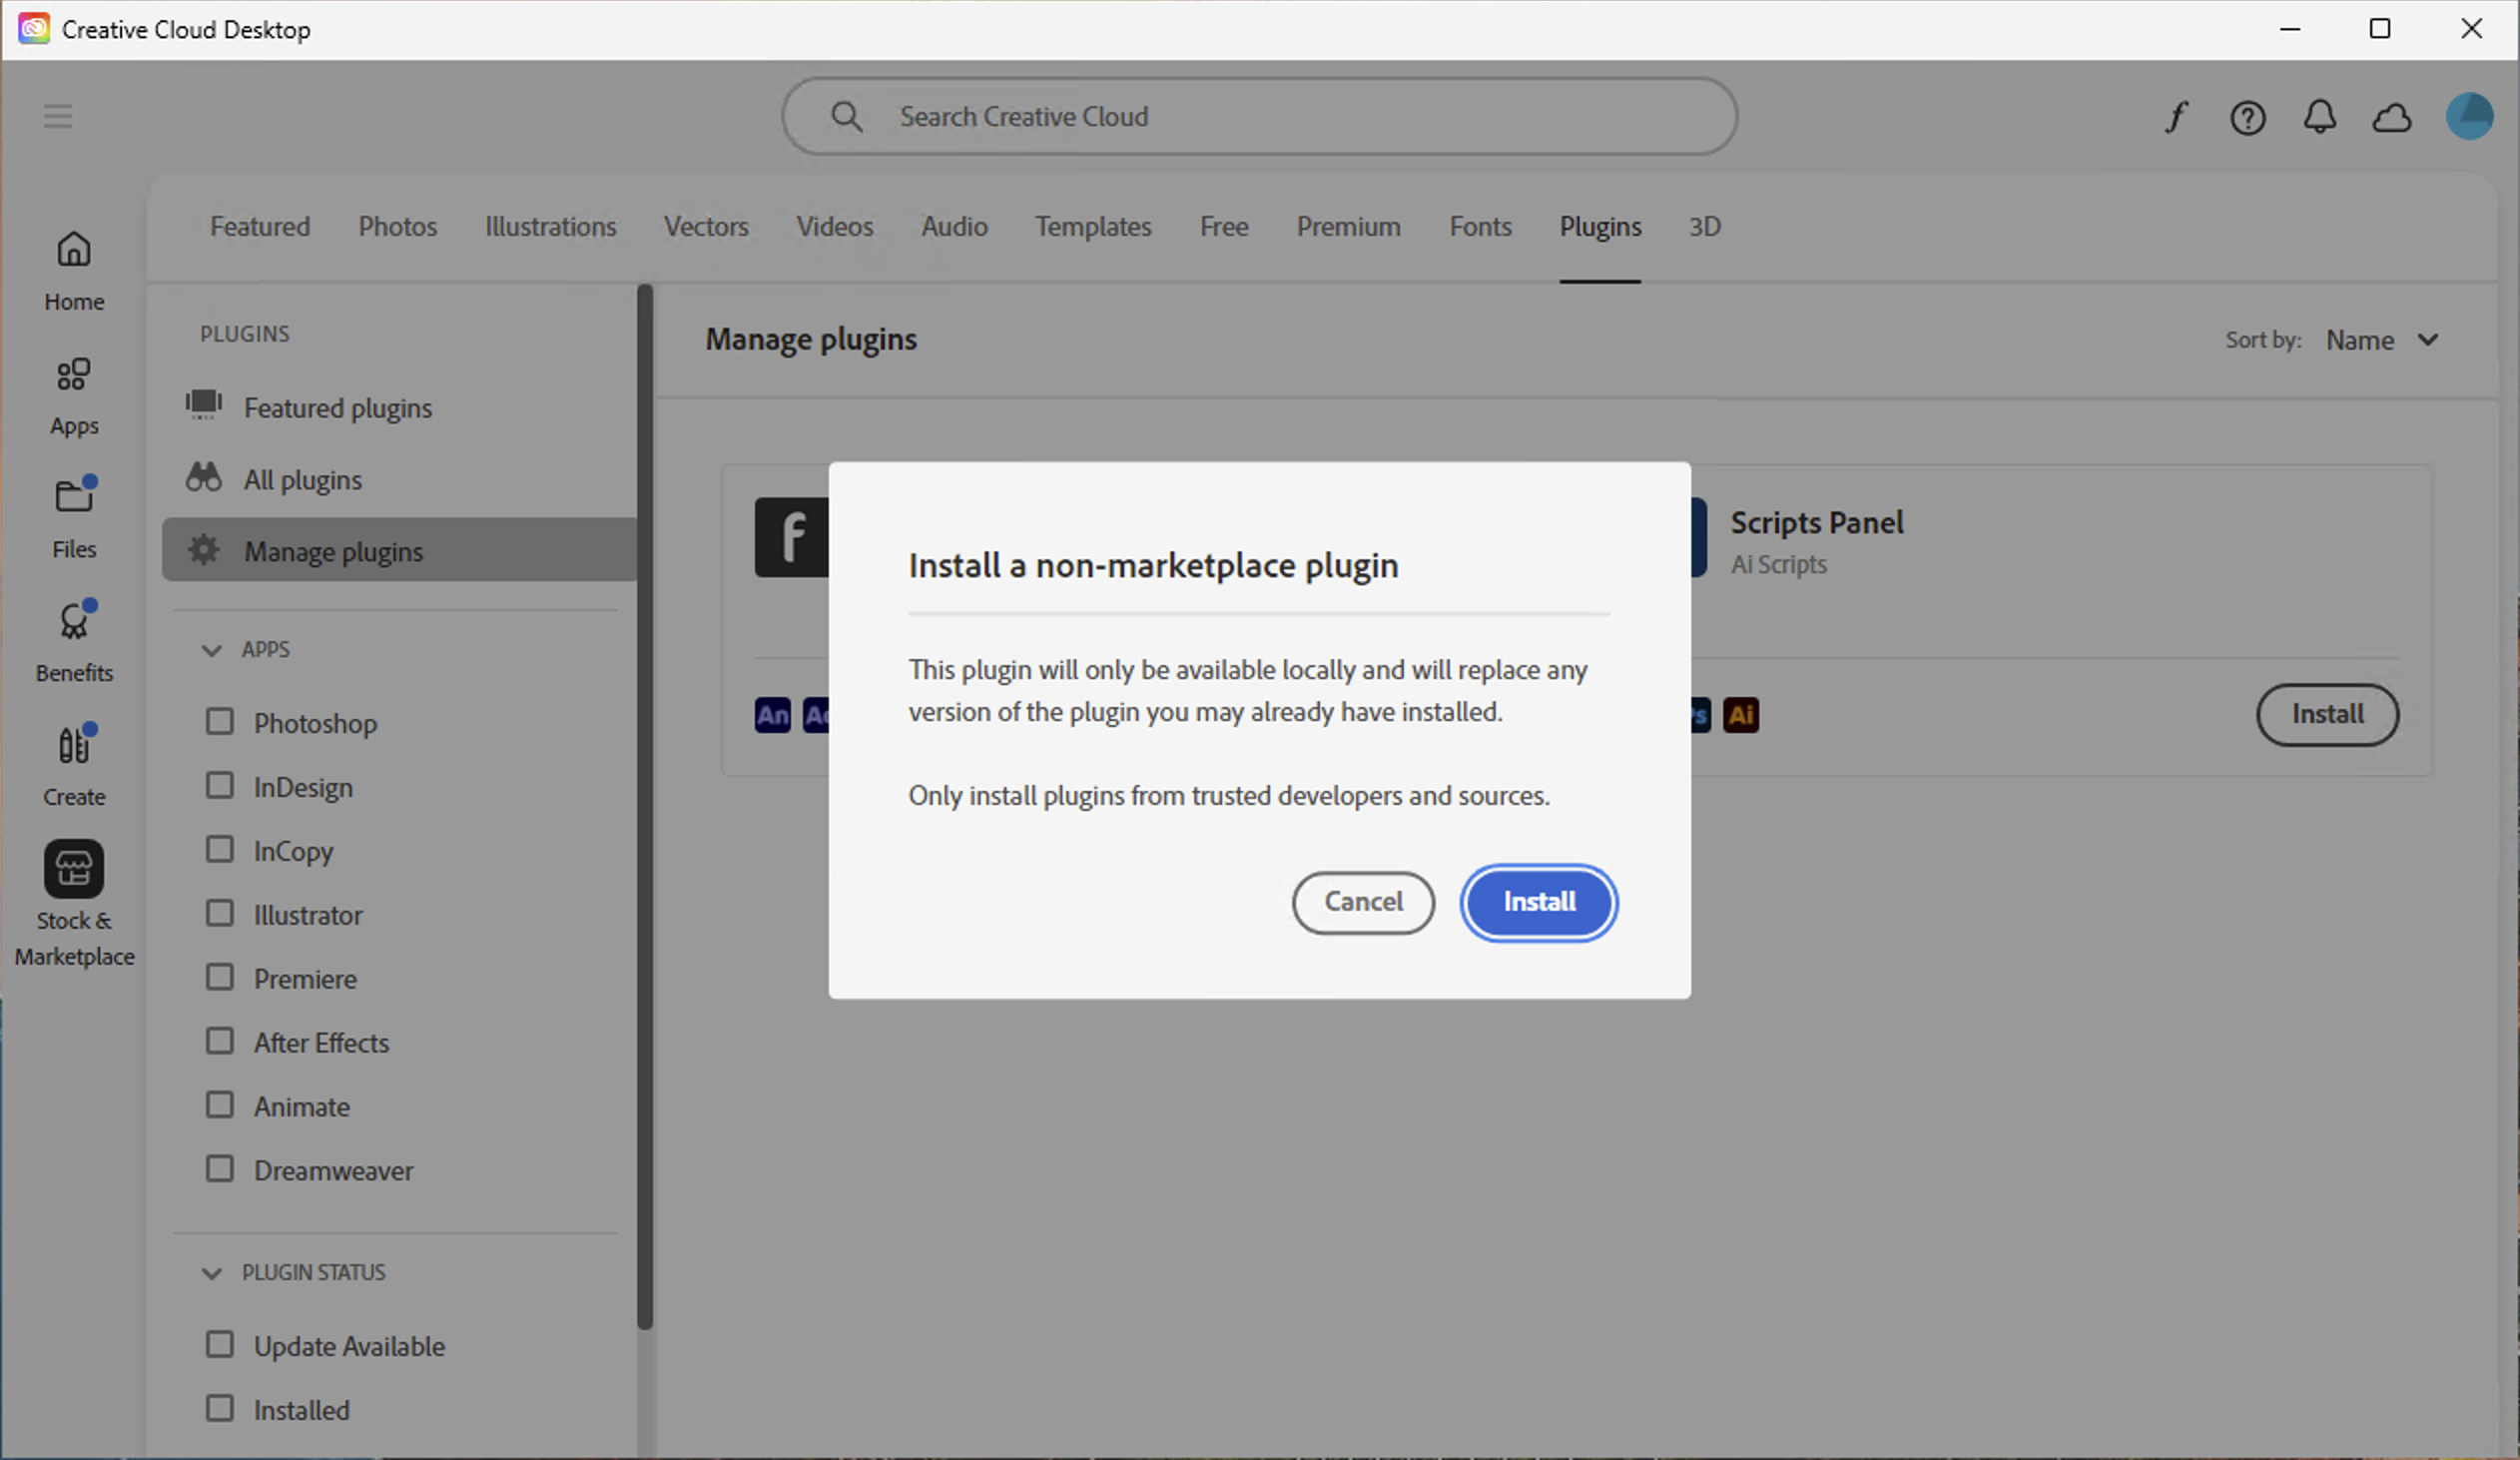
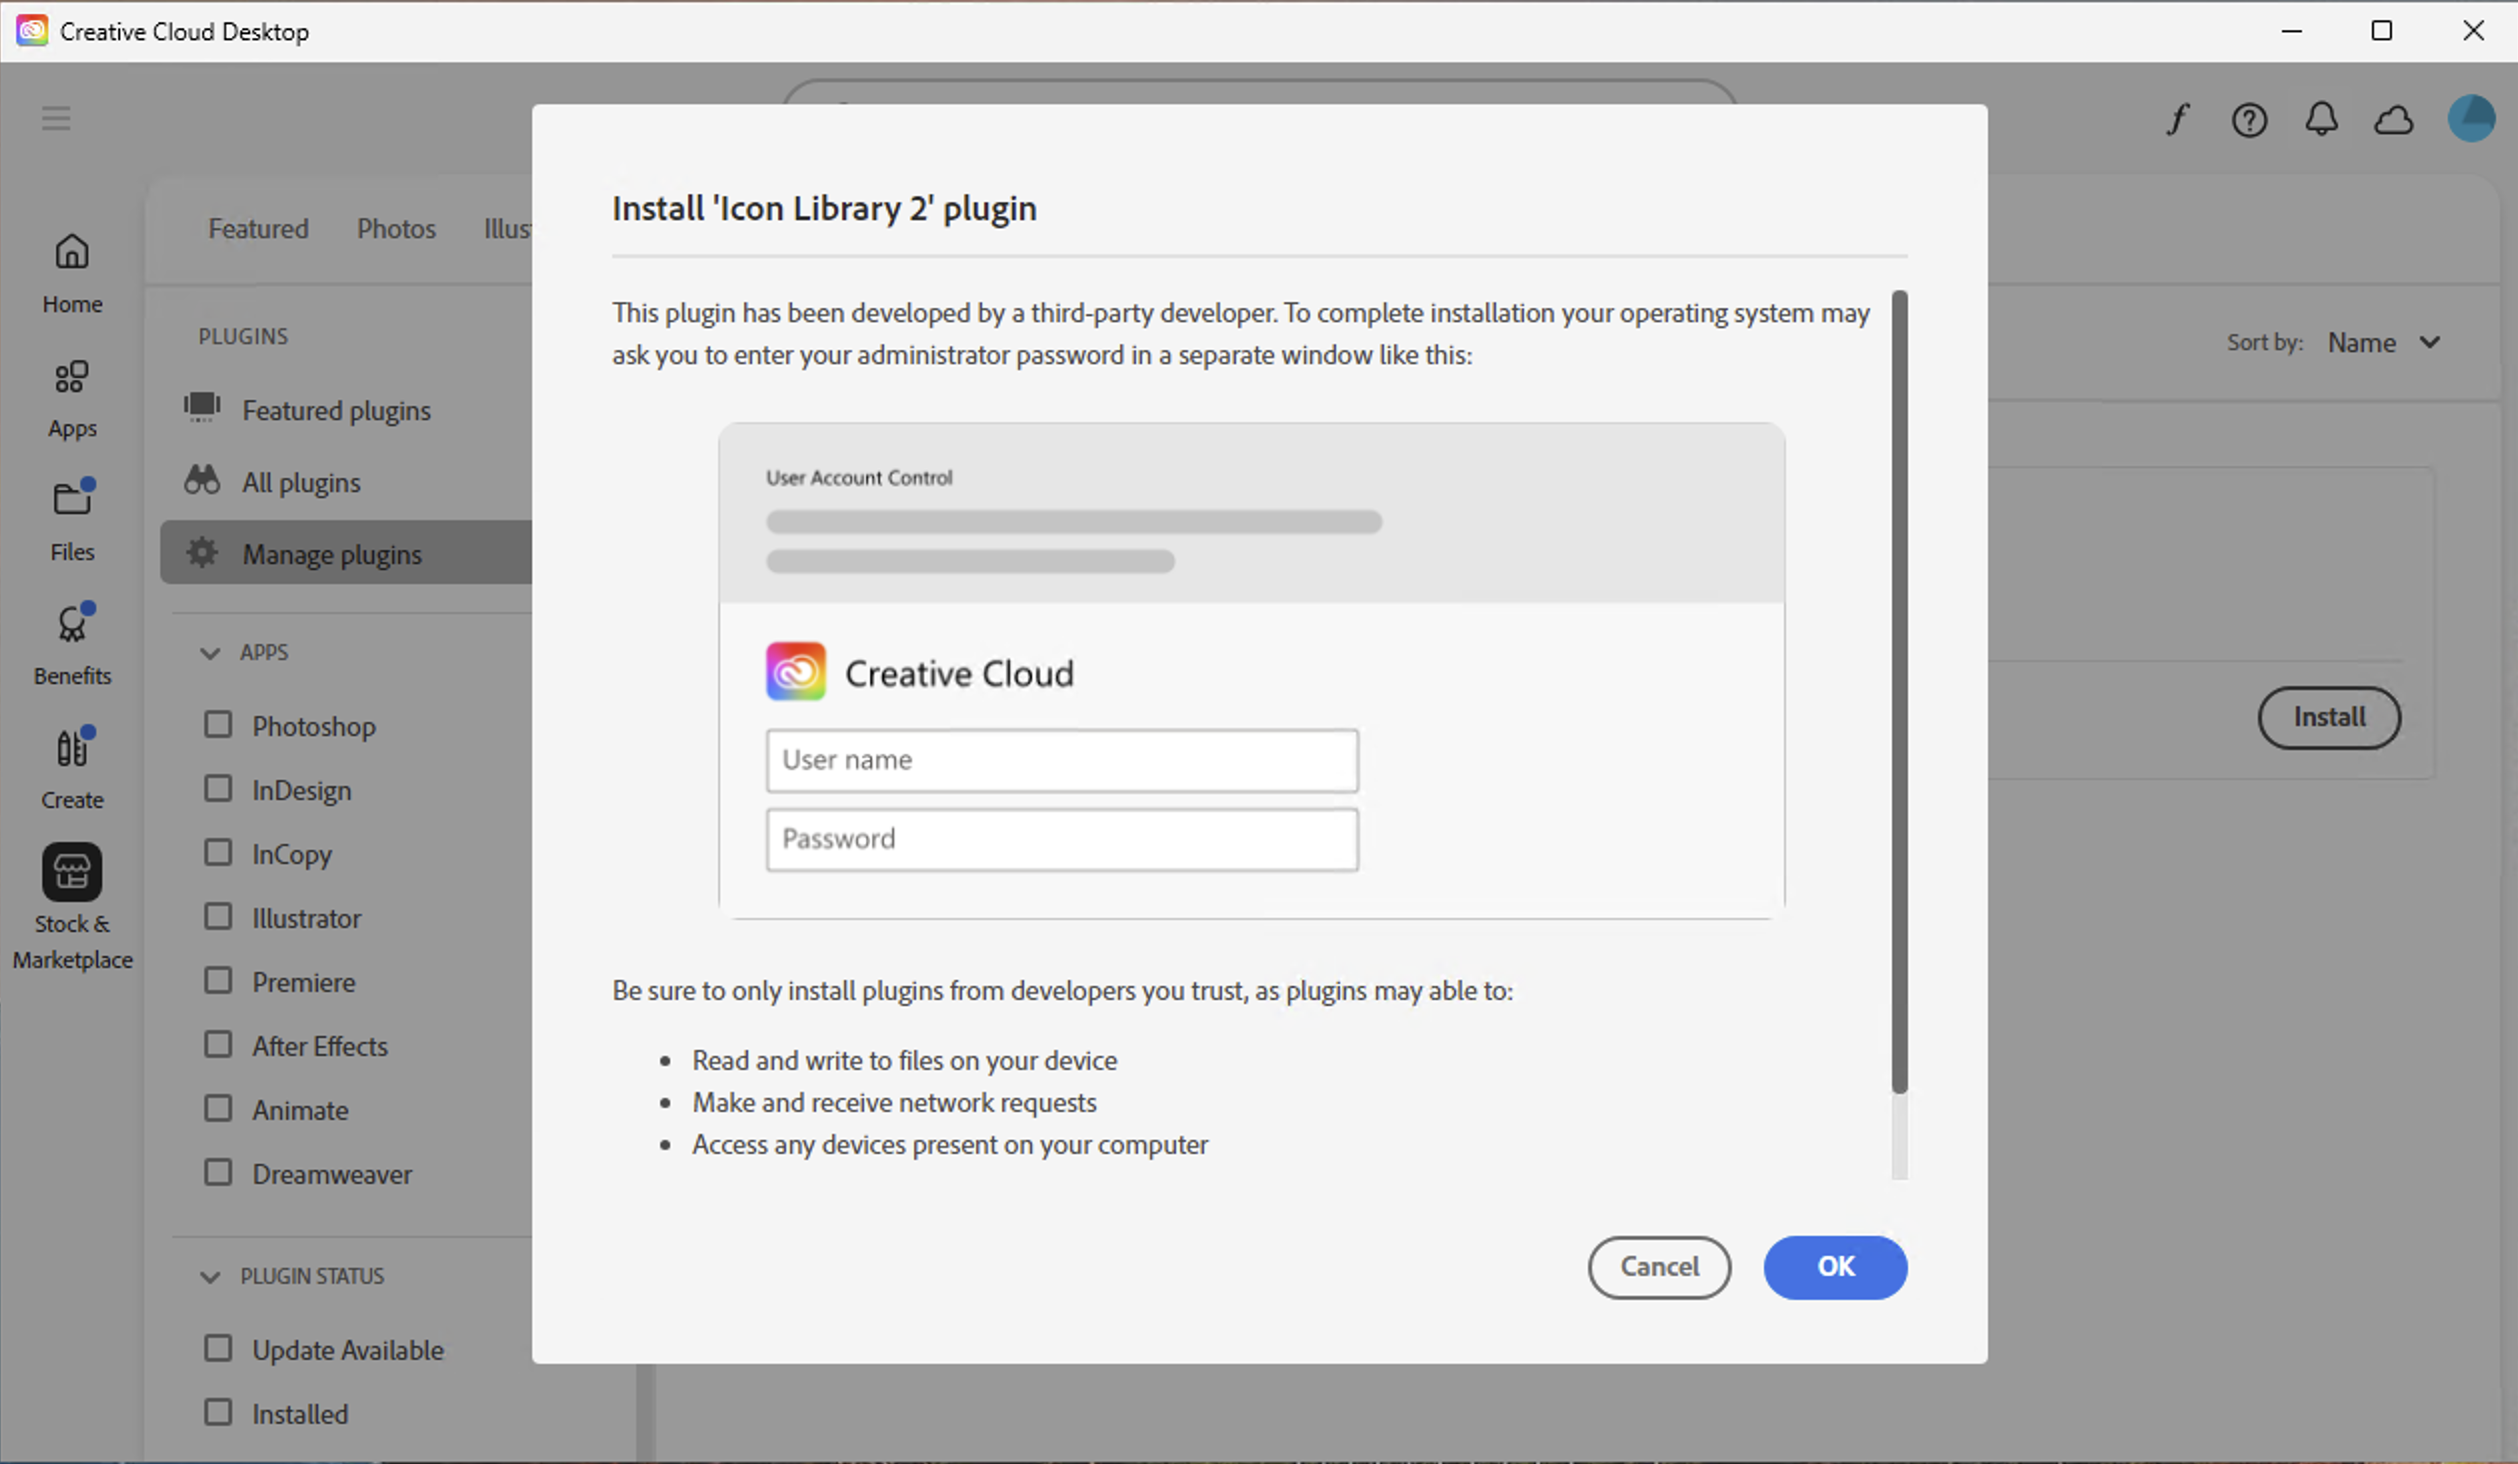
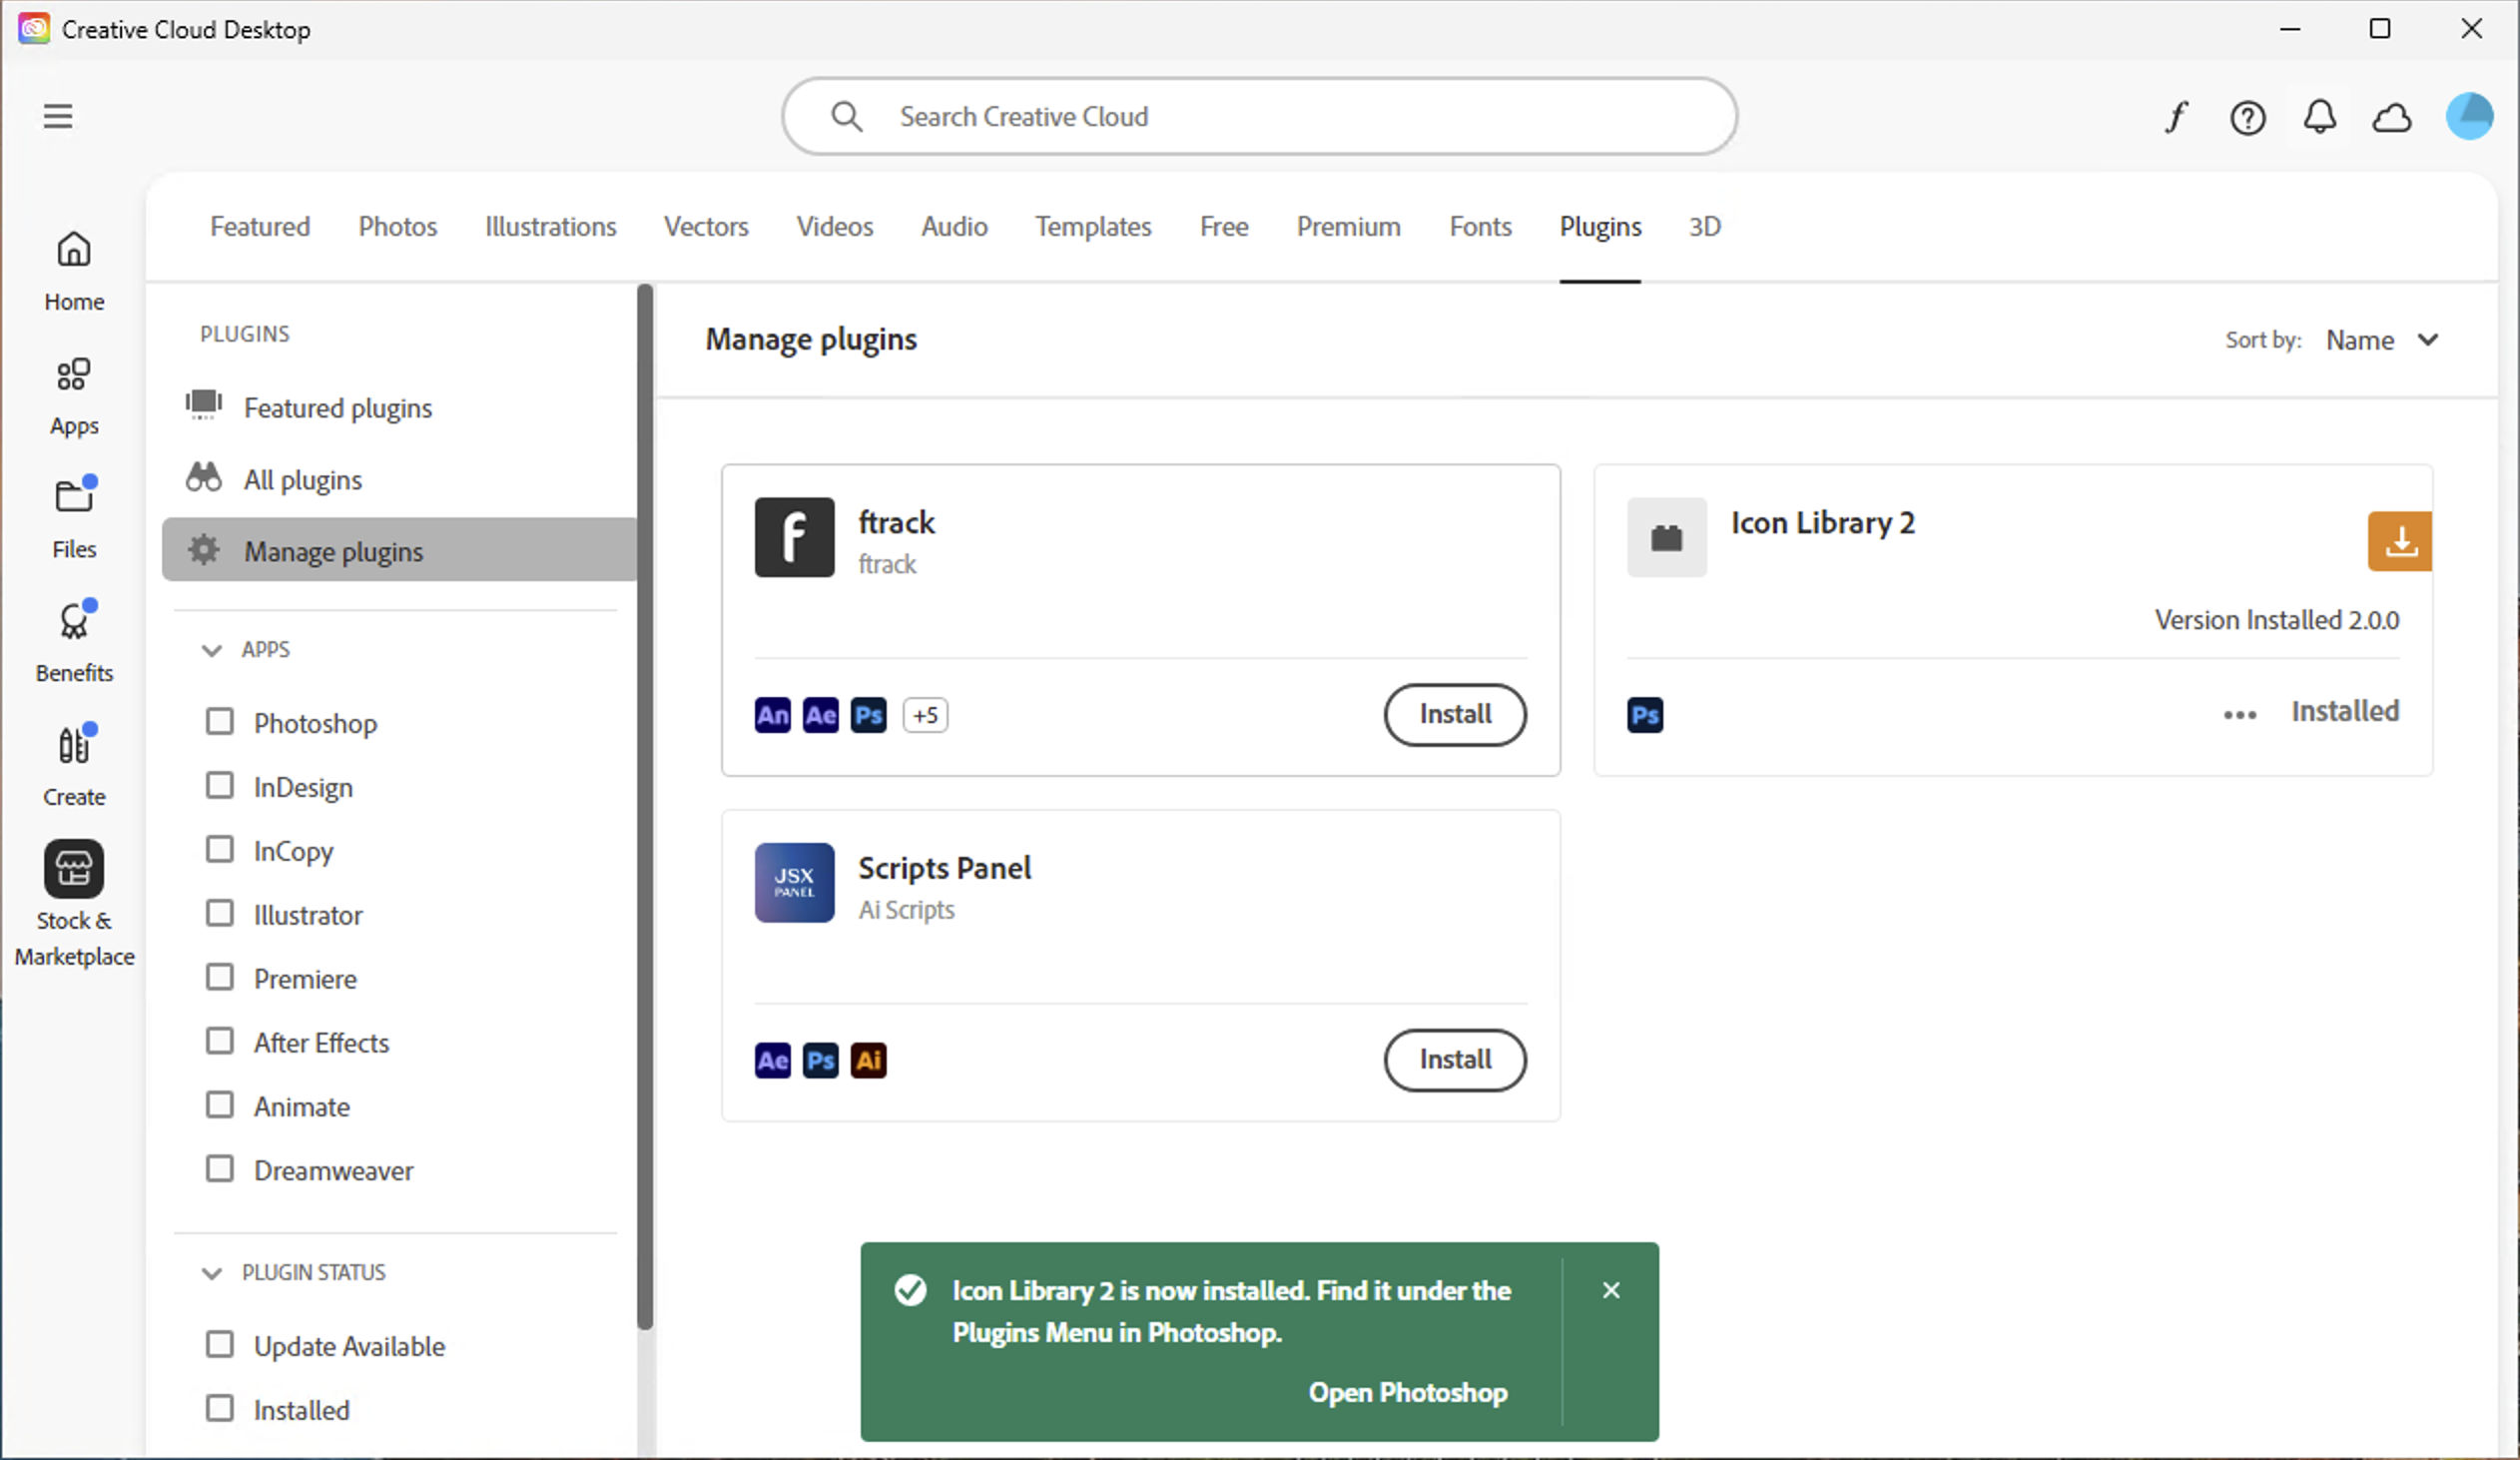
The UXP panel for Photoshop 2024 and later uses a .ccx package that installs directly through the Creative Cloud Desktop App.
- Double-click the
.ccxfile from your product download. - The Creative Cloud Desktop App will open and prompt you to install.
- Follow the on-screen steps to complete installation.
Trial Version
A trial version is available but it has the following limitations:
- Limited to the first 200 icons of each library.
- Valid for only 10 days.